
How To Use The Heatless Curling Rod Headband
Share
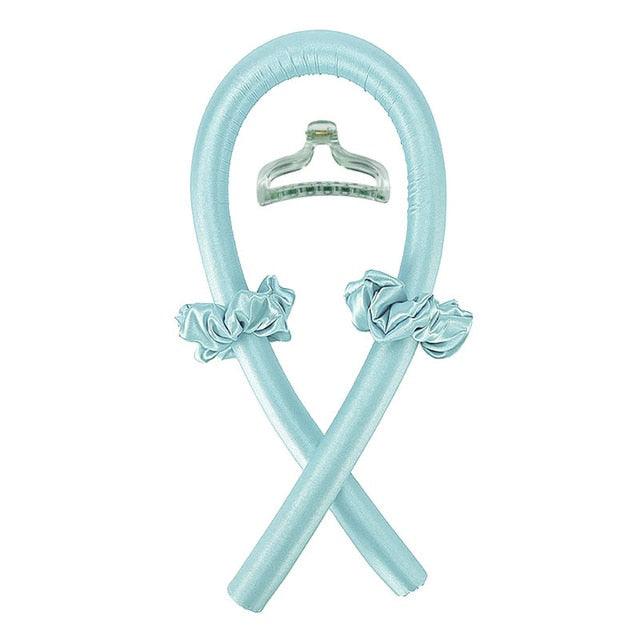
How to Use the Heatless Curling Rod Headband
Are you looking for a heat-free way to achieve beautiful curls? The heatless curling rod headband might just be the solution you've been searching for. This innovative hair tool allows you to create gorgeous, bouncy curls without the damaging effects of heat styling. In this guide, we will walk you through how to use the heatless curling rod headband to achieve salon-worthy curls at home.
Step 1: Prep Your Hair
Before using the heatless curling rod headband, it's important to start with clean, damp hair. Wash and condition your hair as you normally would, and allow it to air dry until it is about 80% dry. Avoid using any styling products at this stage, as they can interfere with the curling process.
- Start with clean, damp hair to ensure the best results.
- Air dry your hair to about 80% dry to allow for better curl retention.
- Avoid using styling products as they can weigh down the curls.
Step 2: Secure the Headband
To begin using the heatless curling rod headband, place it on your head like a regular headband. Make sure it is positioned comfortably and securely on your head, with the elastic band sitting at the nape of your neck. The headband should be snug but not too tight, as this can cause discomfort during the curling process.
- Position the headband comfortably with the elastic band at the nape of your neck.
- Ensure the headband is secure but not too tight to avoid discomfort.
- Adjust the headband as needed to fit your head size perfectly.
Step 3: Section Your Hair
Next, divide your hair into small sections that are about 1-2 inches wide. Starting from the front of your head, take one section of hair and twist it tightly around the curling rod on the headband. Continue wrapping the hair around the rod until you reach the ends, making sure to keep the hair smooth and tangle-free.
- Divide your hair into small sections for easier curling.
- Twist each section tightly around the curling rod on the headband.
- Keep the hair smooth and tangle-free for a neat and uniform curl.
Step 4: Secure the Ends
Once you have wrapped the hair around the curling rod, secure the ends by tucking them under the rod or using a hair elastic to hold them in place. Repeat this process for the remaining sections of hair, working your way around your head until all of your hair is wrapped around the curling rods on the headband.
- Secure the ends of the hair to keep the curls in place.
- Use a hair elastic or tuck the ends under the rod for a secure hold.
- Repeat the process for all sections of hair to ensure even curls.
Step 5: Leave Overnight
After all of your hair is wrapped around the curling rods, leave the headband in overnight to allow the curls to set. You can also speed up the setting process by using a hairdryer on a low setting to gently heat the curls. Once the curls are completely dry, carefully unwind them from the curling rods to reveal beautiful, heat-free curls.
- Leave the headband in overnight for best results.
- Speed up the setting process with a hairdryer on low heat.
- Unwind the curls carefully to reveal bouncy and beautiful curls.
Step 6: Style and Finish
Once you have removed the curling rods from your hair, gently tousle the curls with your fingers to loosen them and create a more natural look. You can also use a wide-tooth comb or a brush to style the curls as desired. Finish off the look with a light-hold hairspray to set the curls in place and add shine.
- Tousle the curls gently for a natural and effortless look.
- Use a wide-tooth comb or brush to style the curls as desired.
- Finish with a light-hold hairspray for long-lasting curls and added shine.
By following these simple steps, you can achieve gorgeous, heat-free curls using the heatless curling rod headband. Say goodbye to damaging heat styling tools and hello to beautiful, healthy curls with this innovative hair tool. Try it out for yourself and enjoy salon-worthy curls without the heat damage!